Replacing a worn component can restore performance—or create a costly failure if the repair introduces contamination, misalignment, or electrical damage. How to avoid damage to equipment when replacing parts begins with treating the job as a controlled maintenance task, not a quick swap. John Moubray, the maintenance author known for Reliability-centered Maintenance, wrote, “The objective of maintenance is to ensure that physical assets continue to do what their users want them to do.” That principle matters at the workbench: protect the machine’s function, not merely replace the visible part.
Before opening a housing, check the equipment manual, confirm the replacement part number, and follow your site’s isolation procedures. A trapped hydraulic pressure, an unsupported drive belt, or a dropped fastener can turn a routine repair into a larger problem. Keep the work area clean. Lay removed parts in order, photograph connections when useful, and use the specified tools and torque values. Small details count.
After fitting the part, inspect seals, connectors, alignment, and clearances before restoring power. Then test the equipment under a controlled condition and watch for unusual noise, heat, vibration, or leakage. Don’t rush this step. Even experienced technicians can miss a simple mismatch when production pressure is high. I’ve seen how a “nearly right” part can consume more time than a careful check would have taken. Procedures differ by machine, so manufacturer guidance and qualified judgment should lead every repair. A short pause can prevent a long shutdown.
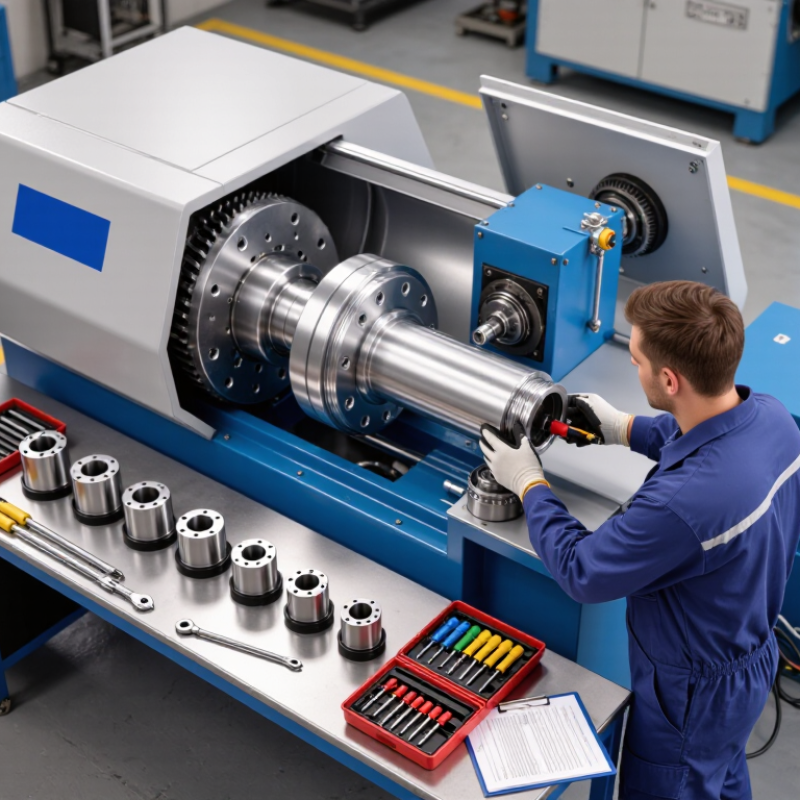
Before replacing a part, assess the equipment in its current condition. Record the model, serial details, operating hours, and recent symptoms. Photograph cable routes, fasteners, and component positions before removing anything. Small clues matter. A faint rattle or uneven wear can point to a problem beyond the failed part.
Compare the replacement requirements with the equipment’s specifications, not just the old part’s appearance. Check dimensions, connection types, material, load rating, and operating conditions. A component that nearly fits may still strain a shaft or leak at a joint. Review the service instructions, and isolate energy sources as directed before inspection or disassembly. If specifications are unclear, pause and consult a qualified technician rather than guessing.
Look around the failed component for cracked housings, heat marks, metal dust, loose mounts, or damaged seals. These details may reveal why the part failed and whether related components need attention. Keep removed parts and labels until the replacement is verified. I have seen careful notes miss one small spacer; that kind of oversight is easy to repeat. Check the parts list and the actual assembly together. If they disagree, stop and investigate before fitting anything.
Check the manual for its part number, dimensions, material, ratings, and connector type. Similar appearance is not enough.
Gather a correctly rated torque wrench, the specified puller, and clean, lint-free cloths. Keep fasteners in a tray.
The wrong material may swell, crack, or leak. A small mismatch can cause trouble.
Follow the service procedure. Isolate energy sources, release stored energy, and verify the equipment is safe to handle.
Put fasteners in a labeled tray. Mark connectors and photograph wire positions before disconnecting them.
Use the specified puller or lifting points. Do not lever against seals, shafts, or machined surfaces.
Inspect the part and mating surfaces under good light. Align them without forcing, then follow the stated torque sequence.
Check connections, wire routing, clearances, and guards. I still find these final checks easy to overlook when work runs late.
How to avoid damage to equipment when replacing parts starts with a careful assessment. Identify the faulty component, understand how it connects to the rest of the equipment, and confirm the correct replacement is available. Before beginning, disconnect the power source, secure the equipment against movement, and allow any stored energy or heat to dissipate. Prepare the appropriate tools and check that the replacement part matches the equipment’s specifications.
During removal and installation, handle components gently, keep fasteners and small parts organized, and avoid forcing connections or using tools in ways that could damage nearby surfaces. Follow a deliberate sequence, making sure each part is seated and secured correctly. When the repair is complete, inspect the work for loose connections, misplaced parts, or visible damage. Restore power only after the equipment is safely assembled, then test it carefully before returning it to normal use.

 Xinli Technology